Refresh, Don't Replace: How to Reuse Soil in Your Raised Beds
Are you looking at all that soil in last year's raised bed and thinking, "Do I really need to start from scratch again?" I know I've stood there, trowel in hand, contemplating whether to dump it all or give it another season. After 30+ years of growing herbs, I've learned that soil isn't one-and-done.
The good news? You can absolutely reuse that soil in your raised beds. The catch? Like that basil plant that bolted while you were on vacation, it needs a little attention first.
I've seen my thyme thrive in the same soil for years, while my cilantro looks personally offended if the soil isn't refreshed regularly. Different plants have different needs, but most will appreciate some TLC rather than a complete overhaul. And while this post focuses primarily on herbs, these same principles work wonderfully for vegetable gardens too.
With a few simple amendments, you'll give those rosemary, sage, mint plants - or your tomatoes and peppers - the foundation they need without starting from zero. Whether you're growing culinary herbs or a full vegetable garden, these soil-saving techniques will serve you well.

Why Consider Reusing Your Raised Bed Soil
Let's be honest - gardening isn't exactly budget-friendly. A bag of premium potting soil costs as much as a decent bottle of wine, and I'd rather sip the wine while looking at my thriving herbs.
Reusing your raised bed soil isn't just about being cheap (though my wallet appreciates it). There are solid reasons to work with what you've got:
It Gets Better With Age: Brand new soil lacks personality - it hasn't developed the complex community of beneficial microorganisms that make plants thrive. That soil you've been growing in for a season or two? It's alive with helpful bacteria and fungi that form relationships with your herb roots.
Environmental Brownie Points: Throwing away perfectly good soil is like tossing out a cast iron pan because it needs seasoning. Your herbs won't thank you (they can't talk, despite what I might pretend when alone in the garden), but the planet will.
It's Already Where You Need It: Have you tried moving 500 pounds of soil lately? The stuff is already in your raised bed where you want it.
The catch? Reused soil needs rehabilitation before it's ready for another growing season. Just like I need coffee before morning conversation, your soil needs certain amendments before it can support your herb garden again.

When You Should (and Shouldn't) Reuse Soil
Not all soil deserves another season in your raised garden. Here's how to tell what you're working with and make the right call.
Signs Your Soil is Worth Reusing:
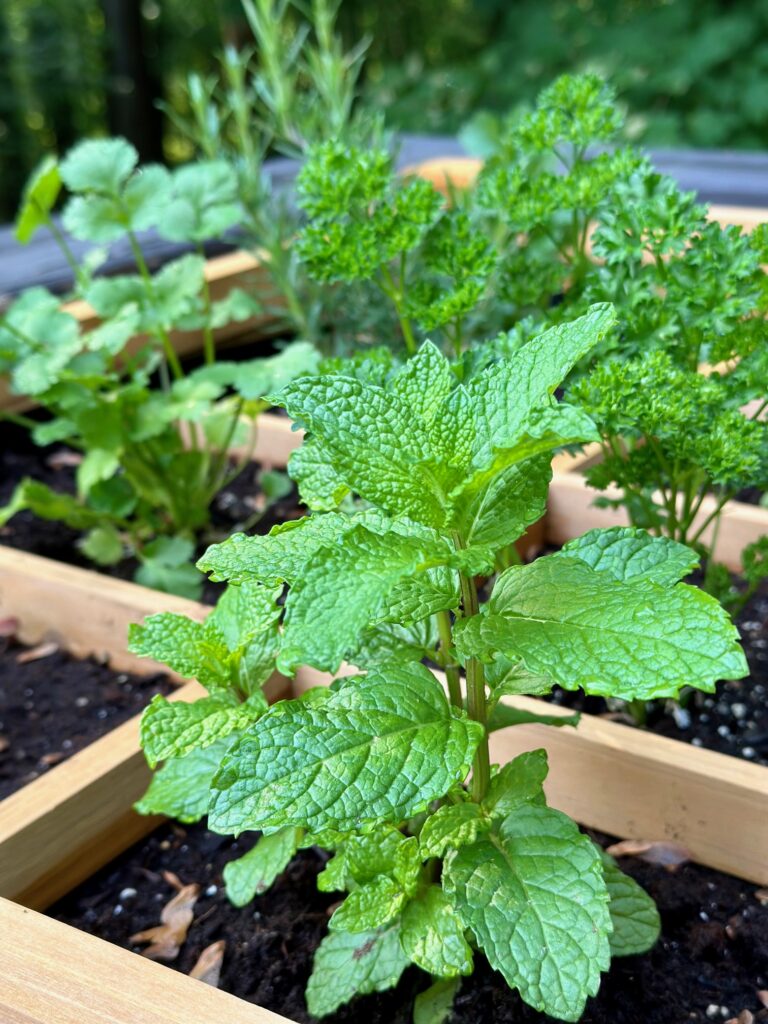
- Healthy plant growth: Your herbs thrived last season - bushy basil, spreading oregano, and other vigorous herbs suggest your soil has good fertility.
- Good structure and drainage: Water soaks in within 10-30 minutes rather than pooling on the surface. When squeezed, the soil forms a loose ball that crumbles easily when poked.
- Pleasant earthy smell: Healthy soil has that rich, forest-after-rain aroma, not sour or musty odors.
- Signs of life: Presence of earthworms and other beneficial organisms indicates a healthy soil ecosystem.
When to Start Fresh Instead:
- Disease history: If your herbs or vegetables showed signs of fungal issues or other diseases, pathogens may still be lurking in the soil. This is one of the biggest herb gardening mistakes I've learned to avoid.
- Persistent pest problems: Some pests complete part of their life cycle in soil, just waiting to attack your new plants.
- Poor structure: Compacted soil where it's difficult to push in a trowel or where water sits on the surface for long periods.
- Off odors or visible mold: Soil that smells sour, ammonia-like, or has visible mold growth needs serious intervention.
Visit my Choosing the Best Soil for Raised beds post to start new!

Quick Assessment Techniques:
To evaluate your soil, dig down a few inches with a trowel and check for excessive old roots and debris. The soil should feel crumbly, not brick-like, and have that characteristic earthy smell. If you're uncertain, try growing a small test batch of easy herbs before committing your entire garden to reused soil.
Rejuvenating Your Old Potting Mixes
So you've decided your soil is worth saving. Good call! Now let's give it the gardening equivalent of a makeover.
Clear Out the Clutter
First, let's get rid of the garden leftovers. Remove any large roots, rocks, and those stubborn tomato cages that somehow get more tangled every year. Think of it as cleaning out your junk drawer – it's amazing what you'll find in there.
Take your garden fork and work through the soil, breaking up any compacted areas. You don't need to pulverize it into dust – just loosen it enough so roots can easily grow through. I find this oddly satisfying, like popping bubble wrap but more productive.
Feed Your Soil
Soil gets hungry too. After a season of feeding your herbs and/or vegetables, it's depleted of nutrients and needs replenishing. Here's what to add:
Compost is garden gold. It improves soil structure, adds nutrients, and introduces beneficial microorganisms. For raised beds, mix in about 1 part compost to 3 parts old mix. Don't have a compost pile? Store-bought works too, though it won't have quite the same bragging rights as your homemade version.
Worm castings are basically soil superfood. They're gentle enough not to burn plants but packed with nutrients. A thin layer (about ½ inch) mixed into the top few inches of soil works wonders.
Organic matter like well-rotted leaves or aged manure improves soil structure and feeds the beneficial microbes. Think of it as gut health for your garden.
Add the Supplements
Just like people take vitamins, soil sometimes needs targeted supplements:
An organic fertilizer provides nutrients your herbs will need. Look for a balanced formula or one specifically for herbs. I prefer slow-release types that feed plants gradually rather than giving them one massive nutrient feast followed by famine.
Mix It All Together
Once you've added all your ingredients, mix everything thoroughly. You want an even distribution so plants don't hit pockets of pure fertilizer or amendments. No need for mathematical precision here – gardening is more art than science sometimes.
Water everything well after mixing. This helps activate the organic matter and settle the soil. It might look like your raised bed has shrunk after all this work – that's normal. The soil will puff back up over time as organic matter breaks down and creates air pockets.
Let your newly rejuvenated soil rest for a week or two before planting if possible. This gives all those beneficial microorganisms time to get to work and start creating the living soil community that will support your herbs/vegetables.
This whole process is like pressing the reset button on your soil. With these simple steps, your old, tired mix becomes new again – ready to support another season of cilantro, bright green parsley, and all your other herbal favorites.

Best Amendments for Refreshing Raised Beds
Here's a quick reference guide to the best amendments for giving your herb bed soil a second life:
| Amendment | What It Does | How Much to Add | Best For |
|---|---|---|---|
| Compost | All-purpose soil improver, adds nutrients and microorganisms | 1-2 inches on top or 1 part compost to 3 parts old soil | All herbs, universal improvement |
| Worm Castings | Provides micronutrients and beneficial bacteria | ½ inch layer worked into top 2-3 inches | Leafy herbs like basil and parsley |
| Mushroom Compost | Improves moisture retention, adds organic matter | 1 inch layer mixed in | Mediterranean herbs that like consistent moisture |
| Aged Manure | Slow-release nutrients, improves soil structure | 1 inch layer, well mixed (never use fresh!) | Heavy feeders like mint and chives |
| Peat Moss | Increases acidity, improves drainage | Mix in up to 30% by volume | Acid-loving herbs (most prefer slightly acidic soil) |
| Organic Fertilizer | Provides missing nutrients | Follow package directions (usually ¼ cup per square foot) | When soil tests show specific deficiencies |
For most herb beds, a combo of compost and organic fertilizer will cover all the bases. The others are helpful for specific situations or when you have them on hand. No need to use all of these - pick what works for your garden and budget.

Step-by-Step Process to Recharge Your Raised Garden Bed
The Weekend Soil Makeover
- Clear the Clutter: Remove large debris, old roots, and any weeds. Think of it as evicting last year's tenants.
- Play Soil Detective: Assess soil condition - check for compaction, drainage issues, or odd smells. Use a soil test kit if plants struggled last season.
- Add the Good Stuff: For every 4 square feet, add:
- 1-2 gallons of compost
- 1 cup of organic fertilizer
- Any specific amendments your soil needs based on testing
- Mix It Up: Use a garden fork to blend everything thoroughly, breaking up clumps for good aeration. Your goal is fluffy, not compacted soil.
- Top It Off: If soil level has dropped, add fresh soil to bring it back to 1-2 inches below the edge of your bed.
- Water and Wait: Water thoroughly and let the bed rest for a week before planting. This gives amendments time to integrate.
This simple refresh will give your herbs the healthy foundation they need without breaking your back or bank account.

When to Refresh Your Soil
Early spring, just before planting season, is the ideal time to rejuvenate your raised bed soil. The soil is starting to warm, and your amendments will have time to integrate before planting. Fall is your second-best option - refreshing after harvest gives amendments months to break down over winter. Avoid working with soil when it's very wet (typically late winter/early spring) or frozen.
Maintaining Soil Health Between Growing Seasons
Think of the off-season as soil vacation time - a chance for your garden bed to rest and rejuvenate for next year's herb marathon.
Cover It Up
Plant fall cover crops like clover or winter rye after your herbs are done. These green guardians prevent erosion, suppress weeds, and add organic matter when you turn them under in spring. Just cut them down about three weeks before planting time.
Don't want to plant anything? Spread a thin layer of leaves, straw, or grass clippings over the bed. This simple blanket protects soil structure, prevents compaction from winter rains, and slowly breaks down to feed your soil.
The Power of Rest
Letting soil rest between plantings isn't being lazy – it's being smart. This break gives beneficial microorganisms time to break down organic matter and rebuild soil structure. Even a few weeks between herb harvests and replanting can make a difference.
Winter Protection Plan
For winter protection in colder areas:
- Add a 2-inch mulch layer on empty beds
- Consider a layer of cardboard covered with compost
- In raised beds, the soil gets colder than in-ground, so extra protection helps
Come spring, pull back heavy mulch two weeks before planting to let the soil warm up. Your herbs will thank you with faster, stronger growth.
This seasonal care takes minimal effort but pays big dividends in healthier soil and more productive herbs year after year.
Specific Considerations for Different Plants
Not all herbs have the same appetite when it comes to soil needs. Some are like that friend who picks at a salad, while others devour everything in sight.
Herb Appetites and Amendments
Light Feeders (need minimal soil refreshing):
- Thyme
- Rosemary
- Oregano
- Sage
- Most Mediterranean herbs
Heavy Feeders (need extra compost and nutrients):
- Mint (it's practically a nutrient vacuum)
- Basil (especially when harvested frequently)
- Chives and other alliums
- Dill
- Tarragon
After growing heavy feeders, add extra compost and organic fertilizer before planting anything else in that spot.

Crop Rotation - Yes, Even for Herbs
Planting the same herbs in the same spot year after year can lead to nutrient imbalances and pest buildup. Simple rotation rules:
- Move mint family herbs (mint, basil, sage)
- Shift umbel herbs (dill, fennel, cilantro)
- Relocate onion family (chives, garlic chives)
Even shifting plants a foot or two in your raised bed can help break disease cycles.
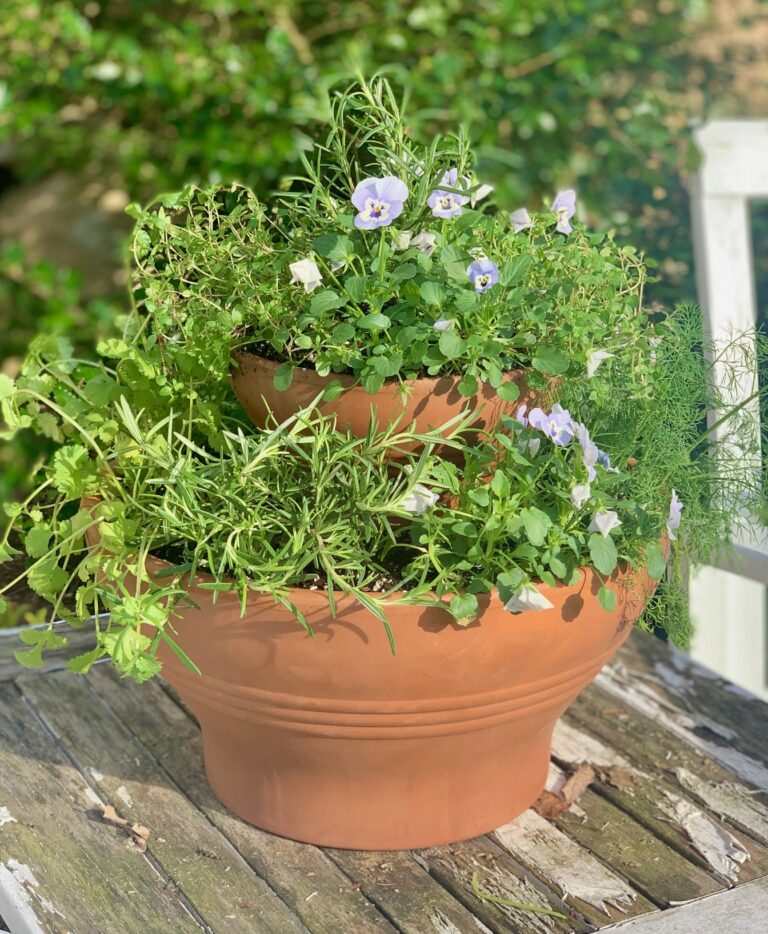
Container vs. Raised Bed Differences
Container plants lose nutrients faster through frequent watering, so they need:
- More frequent fertilizing (every 4-6 weeks)
- Complete soil refreshment more often
- Higher quality potting mix with moisture retention
Garden beds have more stable conditions but benefit from:
- Annual top-dressing with compost
- Deeper root zones for perennial herbs
- Easier overwintering for cold-hardy herbs
Many herbs actually perform better in containers - they love the excellent drainage and contained growing space. Rosemary, thyme, and most Mediterranean herbs are particularly happy in pots, while spreading herbs like mint practically beg to be contained.
Match your soil refresh strategy to your plants' needs, and you'll have healthier herbs with less effort.

Reusing old potting soil in your raised beds is definitely a good idea – both for your wallet and the planet. With some basic care and the right soil amendments, last year's tired dirt can become this year's foundation for healthy plants.
Remember, soil isn't just dirt – it's a living ecosystem. Treating your used potting mix with respect means adding organic materials, monitoring for signs of disease, and giving it occasional rest periods with a fall cover crop.
Whether you're an experienced container gardener or just starting your first herb garden, recycled soil can produce amazing results. The magic happens when you blend that used soil with the right proportion of fresh compost, amendments like aged horse manure, and a touch of slow-release fertilizer.
For your next year's plants to thrive, the effort you put into soil care now will pay dividends in abundant harvests. And if you do encounter problems like soil pests or vine weevils, you now have the knowledge to address them head-on.
So instead of heading to the garden center for bags of fresh potting mix, look at your existing soil as a resource waiting to be renewed. Your herbs (and your budget) will thank you.
Good luck with your herb growing adventures, and remember – when it comes to garden success, what happens below the surface often matters more than what you see above.
Happy gardening!